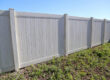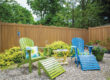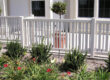
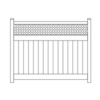
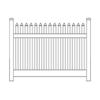
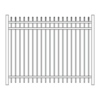
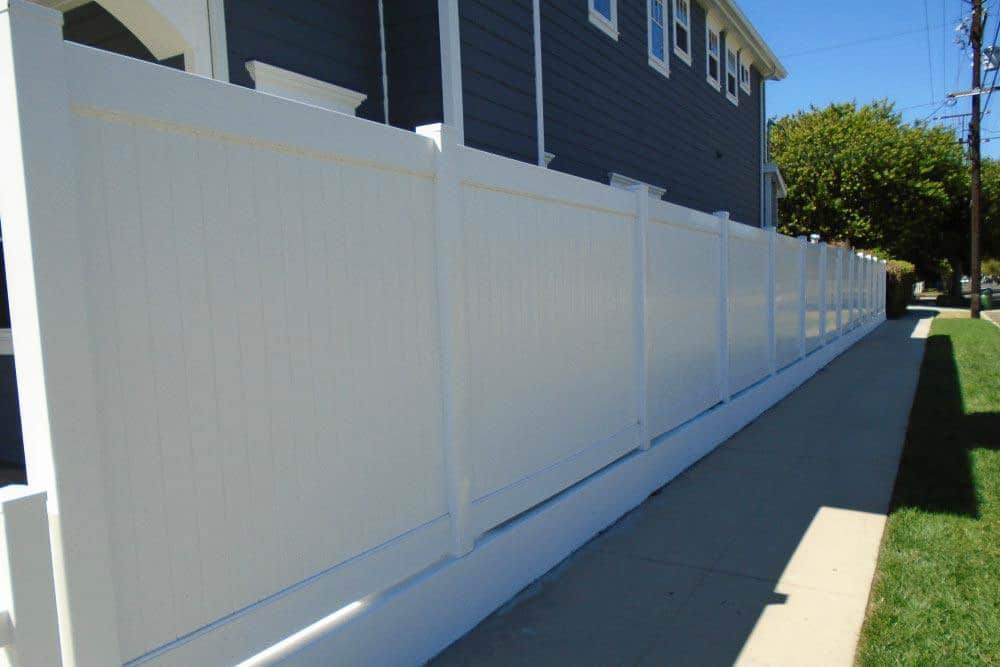
Offering vinyl fencing to your customers can help your contracting business in a few notable ways. It gives you a low-maintenance, great-looking option to beautify and secure your customer’s property. Plus, with this kind of fencing in place, your finished projects look great, helping you win more business from passers-by. In short, this additional offering can help you win more jobs.
More good news: vinyl fencing is generally easy to install. When the fencing and gates are custom-fabricated for your project, all you need to do is assemble the pieces. That means you don’t need to invest in very much equipment to deliver this kind of fencing. You shouldn’t need any circular saws or vinyl notching tools, for example.
Instead, to install one of our fabricated vinyl fences, you only need:
#1: A Tool to Dig Post Holes
Maybe you have a team member who’s particularly deft with a shovel and loves to dig deep, narrow holes. If not, you’ll want a specialized tool to make the necessary post holes. With an auger or manual post hole digger, you avoid the frustration of earth falling back into the hole as you dig it.
Clamshell diggers offer a couple of notable benefits: no maintenance requirements and portability. It’s easy to carry the digger wherever you need. But once you get it there, someone from your team will need to do the heavy labor of using it to dig.
That’s why some contractors prefer augers. Gas-powered, electric, and hydraulic augers all give you a way to create deep post holes with minimal manual effort.
Here, it’s all about what your company’s goals are and what you want to invest. If you only plan to do small-scale fencing projects periodically, a manual digger is probably fine. But if you’re going to be widely offering fencing — vinyl or otherwise — buying a powered auger can save your team a lot of sweat and help your projects move faster.
#2: Leveling and Straightening Tools
Fortunately, you don’t need to decide between simple tools and more expensive ones here. The basics will do just fine.
Make sure your team has a post level so they can level across two axes at once. That helps installation go much more smoothly. You’d hate to have them level horizontally, only to find they’ve then tilted vertically in doing so. A post level straps to the post so they can do both at once. And at about $10 a pop, you won’t have to invest much here.
Another simple set of tools helps you ensure alignment in your vinyl fencing: a string line and stakes. Odds are your team already has this on hand.
#3: A Rubber Mallet
This lets your team get posts and panels into place without damaging the finish on the vinyl. Again, you might already have this handy. Even if you don’t, this is another place you can probably spend $10 or less.
#4: A Way to Mix Concrete
Finally, to secure the posts in place, you’ll want to pour some concrete in the hole. Having a mud mix drill attachment and a wheelbarrow can make this easier for your team.
Clearly, you don’t need much to get custom-fabricated vinyl fencing up on your projects. If you want to talk more about installation or see your fencing options for a project you’re on, contact our Vinyl Craft team today.